William Oldacre Photography
Work
Ongoing Work
Convergent
Light Signatures
Coloured City
Metro Motion
Hope Bay
Tropical
Portraiture
A Priori
Blog
About
Contact
Newsletter
Work
Ongoing Work
Convergent
Light Signatures
Coloured City
Metro Motion
Hope Bay
Tropical
Portraiture
A Priori
Blog
About
Contact
Newsletter
Archive
Home
ink
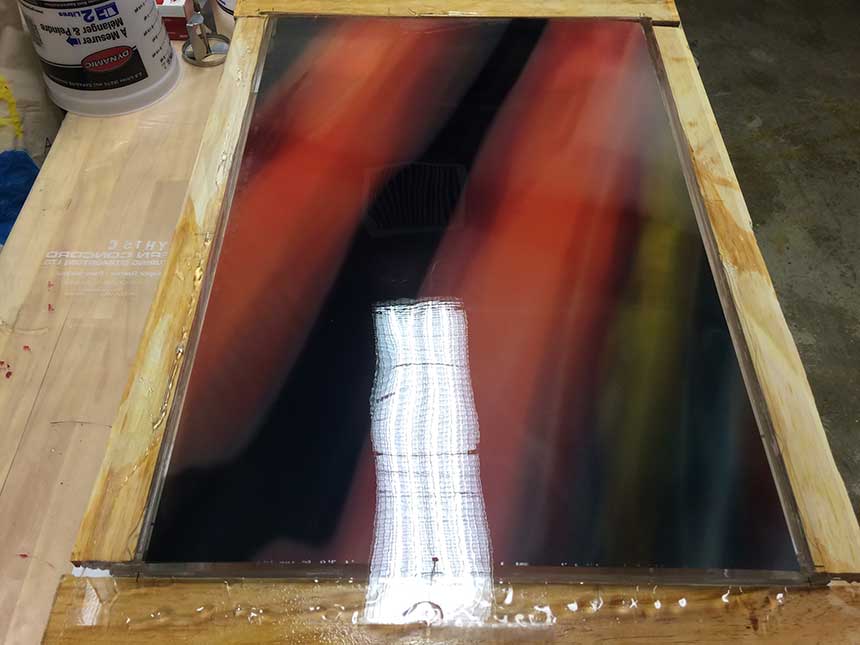
Epic Fial – Rinse, Repeat
May 11, 2016
Volumetric Prints
June 11, 2014
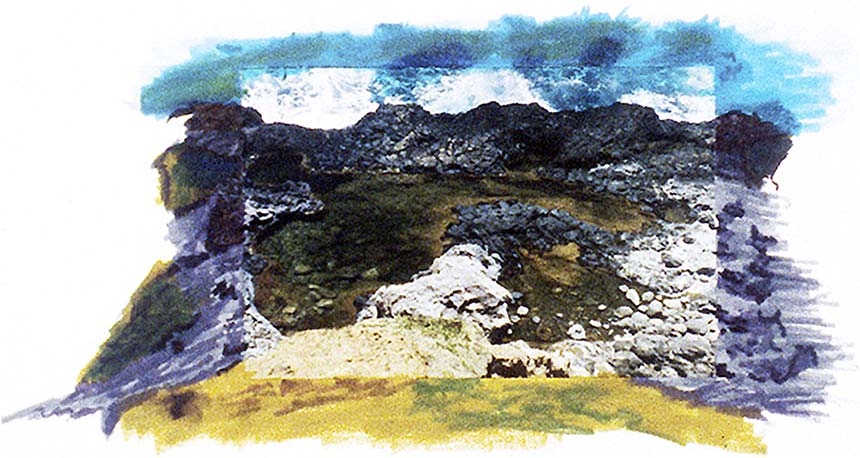
Inked Photo On Paper
May 16, 2012
Search
POSTS
March 2020
(2)
February 2020
(8)
January 2020
(8)
December 2019
(6)
November 2019
(8)
September 2019
(3)
June 2019
(1)
December 2018
(13)
November 2018
(9)
October 2018
(3)
June 2018
(8)
May 2018
(8)
April 2018
(2)
February 2018
(4)
January 2018
(18)
December 2017
(4)
November 2017
(6)
October 2017
(8)
September 2017
(8)
August 2017
(4)
July 2017
(4)
June 2017
(12)
May 2017
(6)
April 2017
(2)
March 2017
(2)
February 2017
(1)
January 2017
(2)
November 2016
(4)
October 2016
(2)
June 2016
(8)
May 2016
(3)
April 2016
(8)
March 2016
(8)
February 2016
(8)
January 2016
(8)
December 2015
(6)
November 2015
(15)
October 2015
(22)
September 2015
(6)
August 2015
(6)
July 2015
(4)
June 2015
(6)
May 2015
(6)
April 2015
(11)
March 2015
(6)
February 2015
(6)
January 2015
(11)
December 2014
(7)
November 2014
(8)
October 2014
(8)
September 2014
(3)
June 2014
(7)
May 2014
(5)
April 2014
(8)
March 2014
(6)
February 2014
(8)
January 2014
(6)
December 2013
(5)
November 2013
(5)
October 2013
(9)
September 2013
(5)
August 2013
(3)
July 2013
(9)
June 2013
(6)
May 2013
(7)
April 2013
(5)
March 2013
(5)
February 2013
(6)
January 2013
(6)
December 2012
(3)
November 2012
(5)
October 2012
(7)
September 2012
(7)
August 2012
(3)
July 2012
(5)
June 2012
(6)
May 2012
(8)
April 2012
(3)
March 2012
(3)
February 2012
(8)
January 2012
(4)
December 2011
(1)
November 2011
(5)
October 2011
(8)
September 2011
(14)
August 2011
(50)
July 2011
(53)